How to install and use TheTechPad automations with n8n.
Here is the step-by-step tutorial on how to use n8n with TheTechPad to automate anything on your WhatsApp numbers through TheTechPad API.
Prerequisites
- Basic familiarity with command line interfaces
- Node.js 16 or newer (required for n8n): install it here
- npm or yarn package manager:
npmcomes pre-installed with node.js
Installing n8n
Mac / Linux
- Open Terminal
- Install n8n globally using npm:Or using yarn:
npm install n8n -gyarn global add n8n - Start n8n:
n8n start
Windows Installation
- Open Command Prompt or PowerShell as Administrator
- Install n8n globally:
npm install n8n -g - Start n8n:
n8n start
npm install -g n8n@latest
Am introduction to n8n
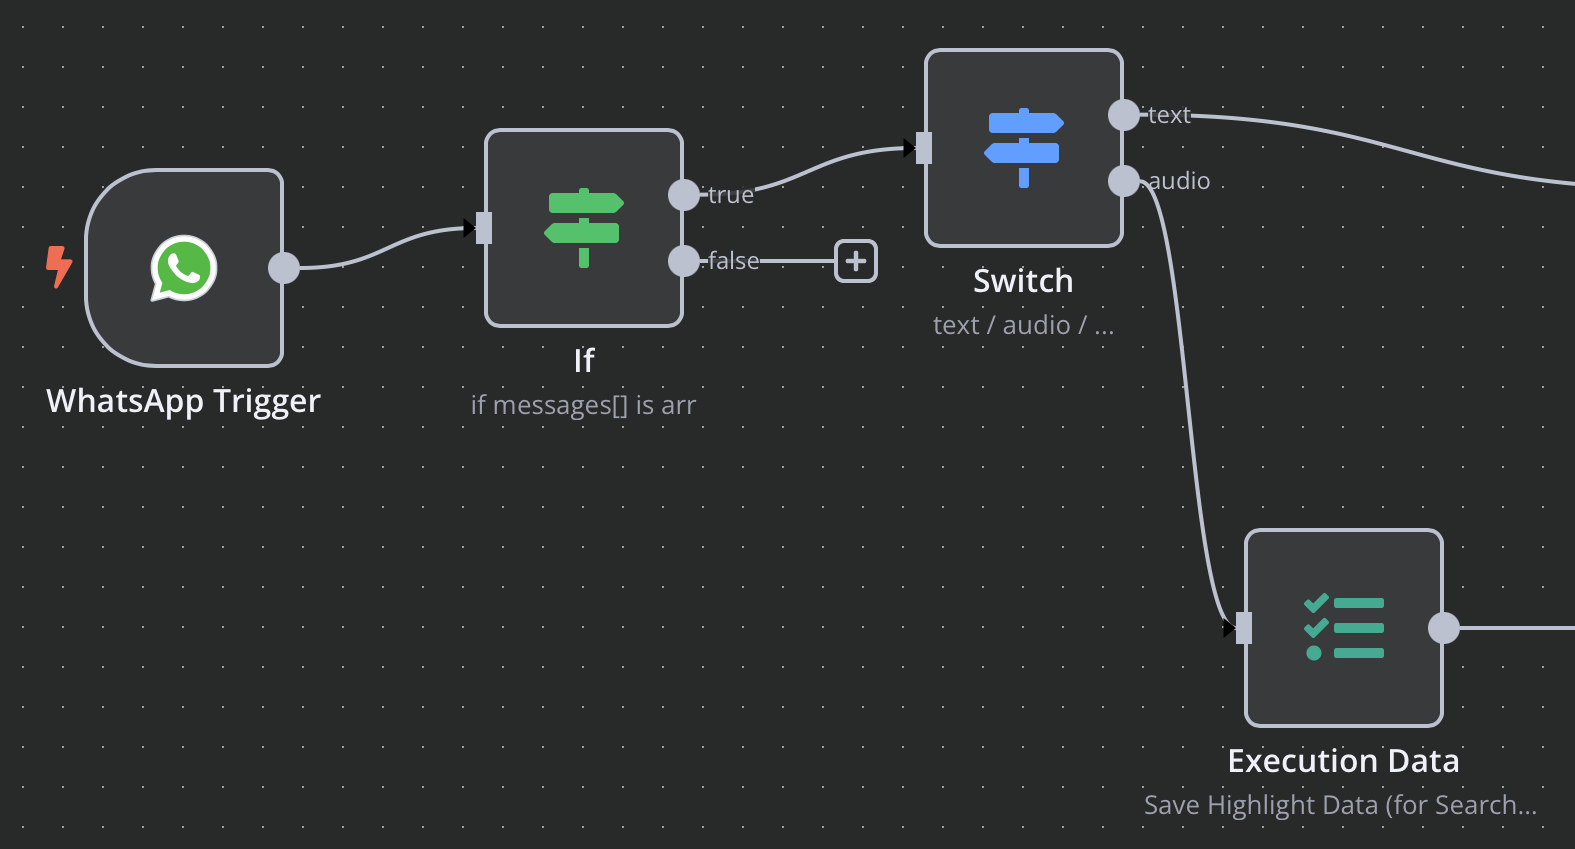
With n8n you can create WhatsApp automation workflows like these, just to name a few:
- Ticket Creation - Convert WhatsApp messages into support tickets in your helpdesk system
- FAQ Bot - Automatically answer common customer questions based on keywords
- Support Routing - Direct customer inquiries to the appropriate department based on message content
- Lead Qualification - Send qualifying questions to leads and route responses to your CRM
- Cart Recovery - Message customers who abandoned shopping carts with personalized reminders
- Drip Campaigns - Schedule message sequences to nurture prospects through your sales funnel
- Order Updates - Send automated shipping notifications when order status changes
- Appointment Reminders - Notify clients about upcoming appointments from your calendar
- System Alerts - Receive critical notifications when servers or systems have issues
- Customer Surveys - Collect feedback through guided questions and save responses to spreadsheets
- Event Registration - Process registrations via WhatsApp and add attendees to event systems
- Invoice Processing - Extract data from invoice photos sent via WhatsApp for accounting
- Task Notifications - Alert team members when new tasks are assigned in project tools
- Approval Workflows - Send and process approval requests for documents or expenses
- Performance Reports - Generate and distribute daily metrics to management
- Restock Alerts - Notify customers when previously out-of-stock items are available
- Price Drop Notifications - Alert customers when wishlist items go on sale
- Review Requests - Automatically request product reviews after delivery
- Payment Reminders - Send notifications for upcoming or overdue invoice payments
- Receipt Confirmation - Deliver transaction receipts when payments are processed
- Expense Submission - Allow expense submission with photo attachments and routing
- Attendance Tracking - Record attendance for classes or events via WhatsApp check-ins
- Medication Reminders - Schedule health-related reminders with confirmation requests
An introductory video to how n8n works
Installing the TheTechPad Plugin for n8n
Download the n8n plugin source files here
Follow the instruction below to install the n8n plugin.
Mac / Linux Installation
- Download the TheTechPad n8n plugin ZIP file from the link above
- Find your n8n installation directory:This will show something like:
npm list -g n8n/usr/local/lib/node_modules/n8n - Unzip the downloaded file:
unzip n8n-nodes-techpad.zip -d ~/Downloads/n8n-nodes-techpad - Install required plugin dependencies
cd ~Downloads/n8n-nodes-techpad && npm install - Copy the plugin to your n8n installation:Note: You might need to use
cp -r ~/Downloads/n8n-nodes-techpad /usr/local/lib/node_modules/n8n/node_modules/sudofor this command - Restart n8n:
n8n start
Windows Installation
- Download the TheTechPad n8n plugin ZIP file from the link above
- Find your n8n installation directory by running in Command Prompt:This typically shows something like:
npm list -g n8nC:\Users\YourUsername\AppData\Roaming\npm\node_modules\n8n - Extract the ZIP file to a temporary location
- Install required plugin dependencies:
# For Windows Command Prompt:
cd n8n-nodes-techpad && npm install && cd ..
# For Windows PowerShell:
cd n8n-nodes-techpad ; npm install ; cd ..
- Copy the extracted folder to your n8n node_modules directory:
# For Windows Command Prompt:
xcopy /E /I n8n-nodes-techpad %AppData%\npm\node_modules\n8n\node_modules\n8n-nodes-techpad
# For PowerShell
Copy-Item -Path n8n-nodes-techpad -Destination $env:APPDATA\npm\node_modules\n8n\node_modules\n8n-nodes-techpad -Recurse -Force
- Start n8n (or restart if already running):
n8n start
Verifying Installation
- Open n8n in your browser by navigating to
http://localhost:5678 - Create a new workflow
- Search for "TheTechPad" in the nodes right panel
- The TheTechPad nodes should be available for selection
- Choose one available action to start automating your workflow
Troubleshooting
- If the TheTechPad nodes don't appear, ensure n8n is completely restarted
- Check folder permissions if you encounter "access denied" errors
- Make sure the plugin is placed directly in the n8n
node_modulesdirectory - For Docker installations, you'll need to mount the plugin folder to the container's
node_modulesdirectory
Configuring Webhooks for External Access
To receive events from TheTechPad or other external services, you'll need to configure n8n with a publicly accessible URL. By default, n8n runs locally and generates webhook URLs using localhost, which external services cannot reach.
Understanding Webhook Configuration
n8n creates webhook URLs by combining the protocol, host, and port settings. When running behind a reverse proxy or needing public access, you must manually set the webhook URL.
Setting the Webhook URL
Temporary Configuration (Session Only)
Mac / Linux
export WEBHOOK_URL=https://your-domain.com/
n8n start
Windows (Command Prompt)
set WEBHOOK_URL=https://your-domain.com/
n8n start
Windows (PowerShell)
$env:WEBHOOK_URL = "https://your-domain.com/"
n8n start
Permanent Configuration
Mac / Linux
Add to your ~/.bashrc, ~/.zshrc, or appropriate shell configuration file:
echo 'export WEBHOOK_URL=https://your-domain.com/' >> ~/.bashrc
source ~/.bashrc
Windows
Set a system environment variable through:
- Right-click on 'This PC' or 'My Computer' → Properties
- Click 'Advanced system settings'
- Click 'Environment Variables'
- Add a new system variable with:
- Name:
WEBHOOK_URL - Value:
https://your-domain.com/
- Name:
Verifying Your Webhook Configuration
- Start n8n after setting the webhook URL
- Create a new workflow and add an "TheTechPad" node that uses webhooks
- The webhook URL should now show your custom domain instead of localhost
- External services can now successfully send events to your n8n instance
Using ngrok for Temporary Public Webhook URLs
If you're developing locally and need a quick way to expose your n8n instance to the internet for testing webhooks, ngrok is a great solution.
Installing ngrok
Mac
# Using Homebrew
brew install ngrok
Or download and install manually here
Linux
Follow the instructions described here
Windows installation
- Download ngrok from https://ngrok.com/download
- Extract the zip file
- Optionally, add the ngrok executable to your PATH or move it to a directory that's already in your PATH
Alternatively follow the instructions here
Setting Up ngrok
- Sign up for a free account at https://ngrok.com
- Get your auth token from the ngrok dashboard
- Configure ngrok with your auth token:
ngrok authtoken YOUR_AUTH_TOKEN
Using ngrok with n8n
Start your n8n instance first:
n8n startIn a new terminal window, start ngrok pointing to n8n's default port:
ngrok http 5678Ngrok will display a URL like
https://abc123.ngrok.ioSet this as your n8n webhook URL in a new terminal:
Mac/Linux:
export WEBHOOK_URL=https://abc123.ngrok.io/
n8n start
Windows (Command Prompt):
set WEBHOOK_URL=https://abc123.ngrok.io/
n8n start
Windows (PowerShell):
$env:WEBHOOK_URL = "https://abc123.ngrok.io/"
n8n start
You'll need to restart n8n for the webhook URL changes to take effect
Example Workflow
- Start n8n on port 5678
- Launch ngrok:
ngrok http 5678 - Note the ngrok URL (e.g.,
https://abc123.ngrok.io) - Stop n8n
- Set the webhook URL environment variable with the ngrok URL
- Restart n8n
- Create a workflow with a TheTechPad webhook trigger
- The webhook URL will now use your ngrok domain and be accessible from the internet